

During their raids, the Vikings were quite well equipped. If steel helmets were required for protection, so were shields. And the latter were also the main defense weapon of the Vikings . So what did they look like? How to make one? We reveal everything to you here.
What did Viking shields look like?

Viking shields - always circular in shape - measured an average of 80 centimeters in diameter . They had a thin thickness , often between 0.6 and 1 centimeter only, and were slightly beveled on the edges .
In the center of the shield: a circular hole. The latter was covered with a steel yoke, called "umbo" , which was intended to protect the fist of the warrior. This dome was several millimeters thick, with a thinner rim. It was attached to the shield using rivets.
What about the shield handle ? It was made of wood , sometimes covered with iron and decorated with bronze leaves. Other times covered in leather. Quite long, the handle of the shield was studded to the panel.
What material for Viking shields?

Wood, and leather. These are the two principal matters which constituted the weapon of defense. These are archaeological discoveries that made it possible to discover this, a few years ago already. Indeed, the presence of leather made it possible to reinforce the shield . To make it more solid in combat and to make it last over time.
In 2019, researchers from the Society for Combat Archeology had recently revealed that one of the best-preserved Viking shields was surrounded by calfskin . Over its entire surface, the object was covered with tanned lamb skin, or possibly deer. Why lambskin? Far from being the most resistant a priori, lambskin is on the other hand the most accessible at the time.
To sum up, in general, Viking shields were made of 7 to 8 wooden blades fixed together on a single level, before being then covered with tanned leather.
Were Viking shields decorated?

Some archaeological and literary sources confirm that the shields could sometimes be painted . The most common colors were yellow and black , sometimes also red . You could find patterns, interlacing or lines.
When not covered in paint, Viking shields could also be decorated in other ways. On some, we note the presence of seams on the leather, for example. Otherwise the presence of nails , forming a sun wheel.
How to make a Viking shield?

Making your own shield takes time and work . Before getting started, it is important to get the right materials.
What materials to make your Viking shield?
The materials to use will depend on how much time and energy you want to spend creating your shield. For a quick and easy shield to make, use a plywood board . For a shield that is close to the historical replica, prefer 6 to 8 wooden planks (pine, lime trees, oak).
In any case, you will also need :
- a piece of wood for the handle
- a steel bump (umbo): Buy your Umbo Viking
- 60mm long forged nails
- 3 meters of row hide
- fabrics
- wood glue
- a jigsaw
- a drill
- a hammer
- a mass
- flat pliers
- scissors
- a sewing kit
- a meter, …
The procedure for making your Viking shield
-
Draw a circle 84cm in diameter on your plywood board. To do this, find the center of it, plant a nail there and, using a string and a pencil, draw a circle there. Using your jigsaw, cut your board along your line, leaving a slight margin. Finally, clean the edges with a wood rasp or sandpaper.

- Measure the inside diameter of your umbo , then make a circle of the same diameter in the center of your wooden plate. Cut it out.

- Slide your umbo over the hole you just drilled and trace the edge of the umbo and the location of the holes using a pen.
- Cut the wooden bar intended to serve as a handle to the same length as the diameter of your shield. You can also remove some material to make your future handle thinner if you wish.

- On one side of the shield, spread a good amount of wood glue with a spatula . Then, apply your piece of fabric by chasing the air bubbles, always with a spatula. And cut off the overflow.

- With a knife, cut out the inner center of your shield in the shape of a star , intended to receive the umbo. Glue the excess fabric inside your shield.

- Put your handle on your shield and come and trace the location of the nails that will cross it once the umbo is placed.
- Drill the plywood at the location of the nails using a drill bit. Do the same in the handle.
- Brush the handle with exterior wood glue (except in its center) then place it on the shield. Use clamps if needed.
- Enter the forged nails from the outside to the inside of the shield. If the holes are made correctly, the nails should also pass inside the handle. You can, if you wish, add other nails along the handle, always having drilled the wood upstream using a drill bit.

- Twist all the nails with pliers then flatten the tips with a sledgehammer.
- Finally, place the umbo in the center , and always hang it with nails.

- It's up to you, then, to surround your shield with your meters of raw hide. Then decorate it.
And there you are, you are ready to become a real Viking. Crafting your own shield will take you a good day though. So be sure to have plenty of time ahead of you if you embark on the adventure.
To go further, you can complete this one with our jewelry or other Viking accessories .
Buy your own viking shield
To make it easier for you, you can buy an already made shield base, or even an entire shield.
All these shields are made by craftsmen working in collaboration with Ervald

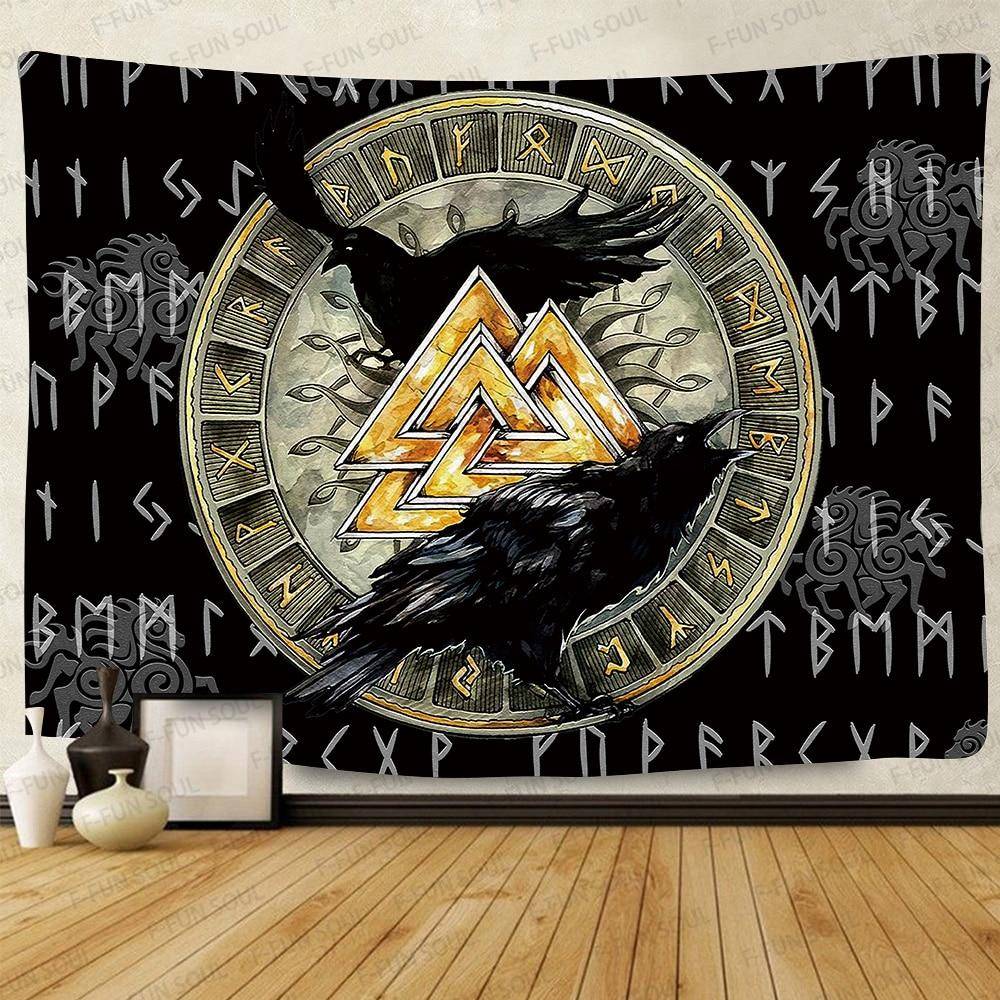
Viking Shield Decoration Ideas
In order to help you decorate your shield, we offer decoration ideas. Whether it is for the choice of colors or symbols to paint on your shield: